SmartThings Wi-Fi manual IP address setup (PPPoE and static IP)

SmartThings Wi-Fi provides corner-to-corner Wi-Fi coverage for your home and lets you control all of your smart devices. If you tried setting up SmartThings Wi-Fi and received a message that said it cannot connect to the internet, you will need to check your network setup and manually set your IP address. There are two ways to connect manually: on a PPPoE (Point-to-Point Protocol over Ethernet), which is used on Ethernet connections, or a static IP address, which may be used in some homes, hotels, and workplaces.
Note: The provided information refers to devices sold in Canada. The available screens and settings may differ for devices sold in other countries. You can visit the SmartThings website to check device compatibility and gather more information.
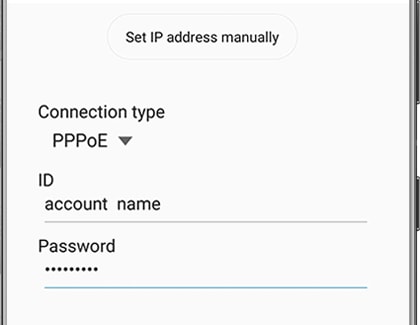
When you use the SmartThings app to set up SmartThings Wi-Fi, it should automatically connect. However, if you receive a message that SmartThings Wi-Fi cannot connect to the internet, you will need to enter your IP address manually. If you are using a PPPoE, follow these steps to manually set your IP address:
On your phone, tap Set IP address manually when prompted by the popup message, and then select PPPoE from the drop-down menu under "Connection type".

Enter your ID and password, and then tap Done.
Note: You will need to enter a PPPoE ID and password. If you do not have this information, contact your internet service provider.
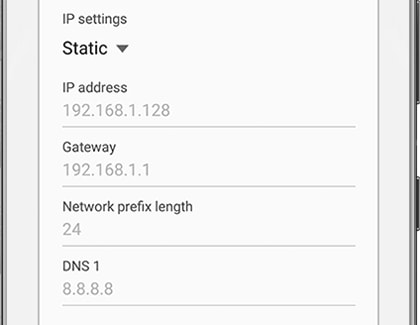
Some homes, hotels, or offices use a static IP address that never changes. This is different from most devices that use dynamic IPs, which change constantly. You will need to contact the network administrator and request your IP and WAN settings.
On your phone, tap Set IP address manually when prompted by the popup message.

Enter the IP and other settings listed, and then tap Done.
The first thing you should do if you are unable to connect to SmartThings Wi-Fi is reboot the modem. Unplug the modem and SmartThings Wi-Fi, and wait 2 minutes for both devices to fully power off. Then, plug them back in.
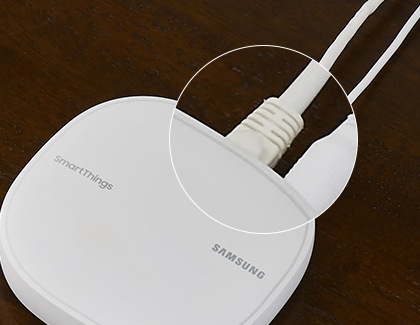
Next, verify that one end of the Ethernet cable is securely connected to the IN port on the SmartThings Wi-Fi hub and that the other end is also securely connected to the modem. Make sure you are using the included Ethernet cable. If you still cannot connect, try using another Ethernet cable that supports up to 1 Gbps.

Note: Some modems require cycling to assign an IP to a new device.
Is this content helpful?
Thank you for your feedback!
Please answer all questions.
