How to verify network status on your Samsung TV
In today's interconnected world, ensuring your Samsung TV is properly connected to your home network is crucial for accessing a wide range of smart features and online content. Whether you're setting up your TV for the first time or troubleshooting connectivity issues, knowing how to check the network status can save you time and frustration. This guide will walk you through the simple steps to view your Samsung TV's current network connection details, including IP and DNS settings.
Note: The information provided applies to Samsung TVs sold in Canada. Settings and options may vary for models available in other countries.
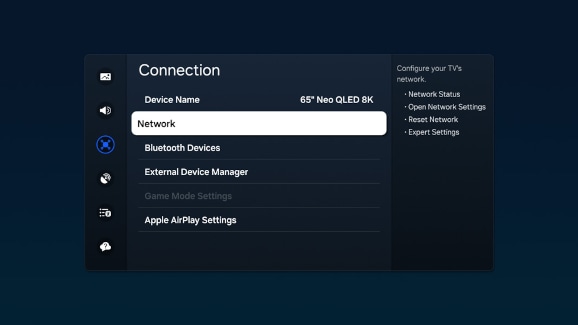
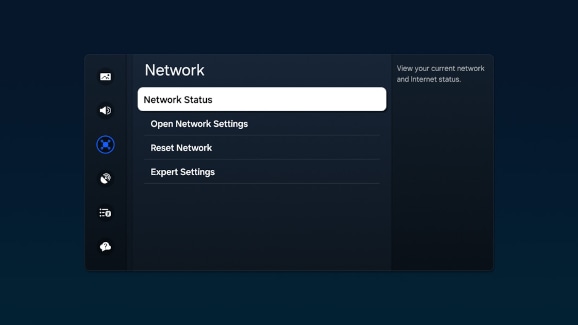
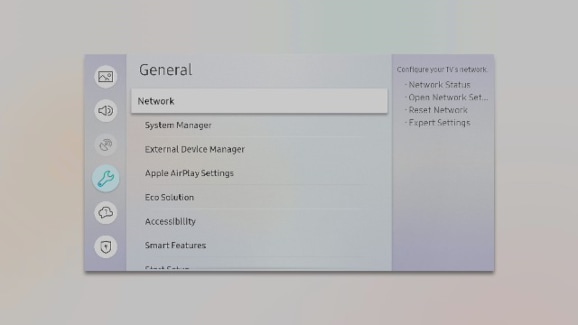
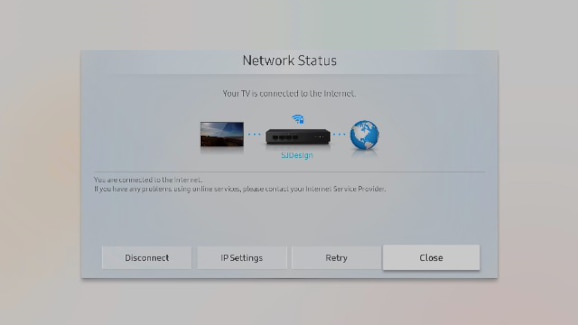
Keeping your Samsung TV connected ensures you can enjoy all its features. Checking the network status is straightforward; simply follow these steps to verify your TV’s connectivity:
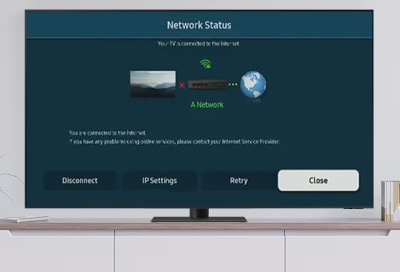
- Disconnect: Disconnect your TV from the current network to stop all internet activity.
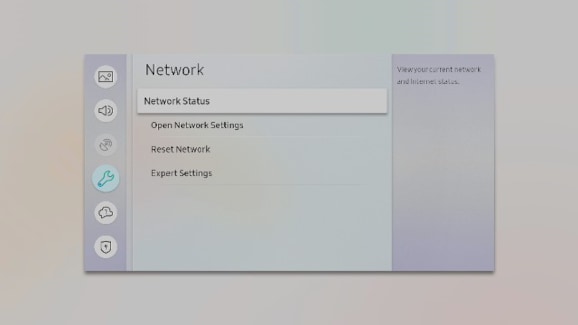
- IP Settings: Access and modify IP and DNS settings to troubleshoot connectivity issues or configure advanced network preferences.
- Retry: Attempt to reconnect to the network if the initial connection fails or if the connection has been lost.
- Close: Exit the Network Status menu and return to the previous screen.
Troubleshoot through network status
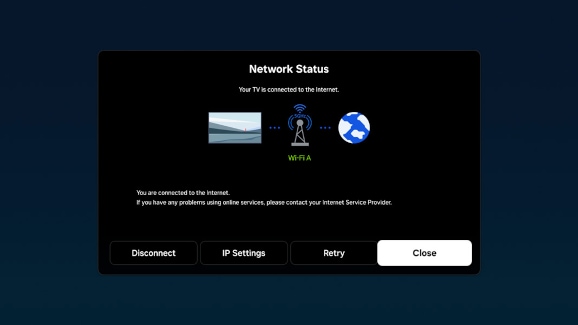
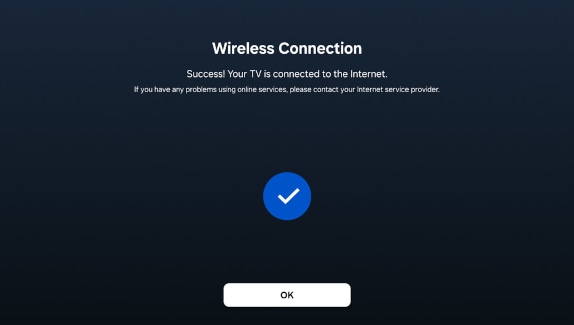
On the Network Status screen, you can view the connection status of your TV, router, and the internet. Blue dots indicate a successful connection, while a red 'X' signals a lack of connection.
Case 1: TV and router connectivity Issues
If the connection between your TV and router is problematic, you will see a red 'X' between the images of the TV and router on the screen. Check the following:
- Check connections: Ensure all cables connected to the router are secure.
- Restart the router: Unplug the router's power, wait about one minute, then reconnect. This can resolve many connectivity issues.
- Test with another device: Check if another device on the same network can connect to the internet. If it can, the issue likely lies with the TV; if not, the problem is with the router.
Case 2: Internet service issues
If your router is connected to the TV but not to the internet, you will see a red 'X' between the router and the globe icon representing the internet.
- Service provider issues: This typically indicates a problem with your internet service provider. Often, these are temporary outages. A bit of patience is usually all that's needed while your provider resolves the issue.
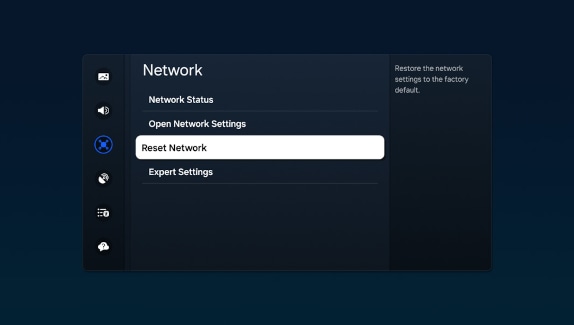
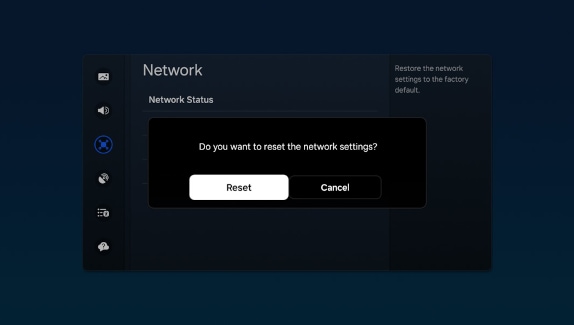
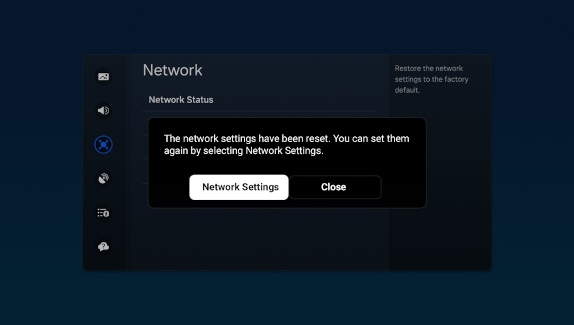
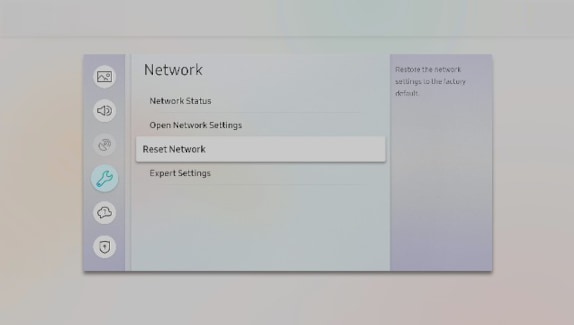
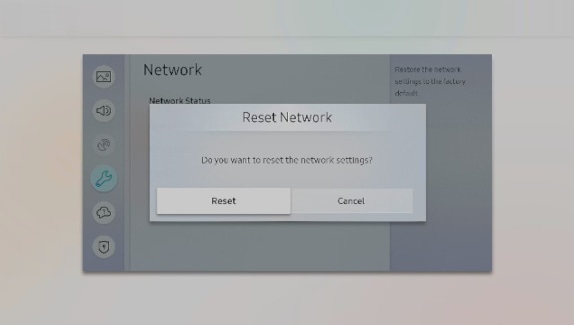
If you encounter persistent connectivity issues or need to change network configurations, resetting your Samsung TV's network settings can be a helpful step. This process restores the network settings to their original factory defaults, allowing you to set them up anew.

Note: If you need detailed guidance on setting up your internet connection, refer to the previous sections above on connecting your Samsung TV to the internet using either a wired or wireless method.
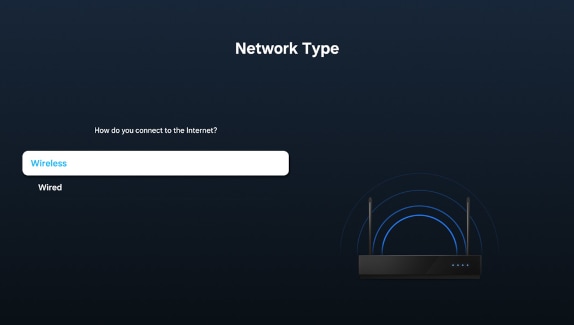
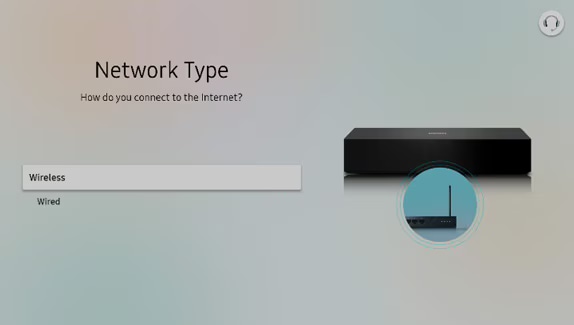
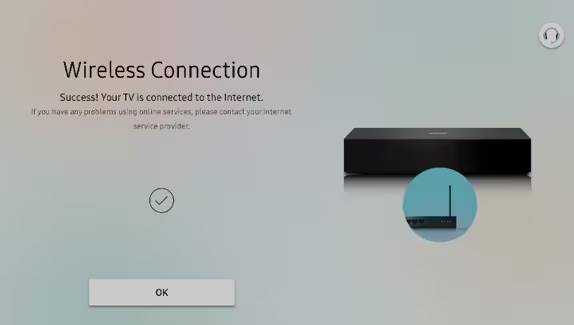
Setting up your TV to connect via a wireless network offers convenience and flexibility. Let's walk through how to enable Wi-Fi on your Samsung TV to access a world of online content without the wires.
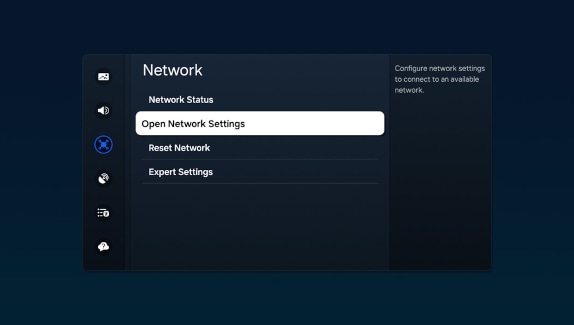

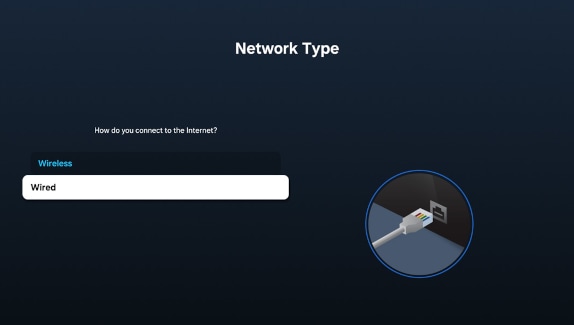
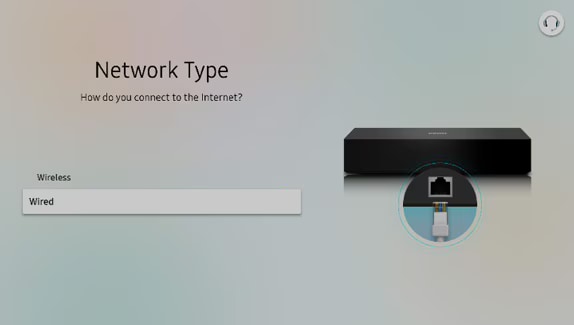
For optimal stability and speed, connecting your TV through a wired network is the way to go. Follow these steps to connect your Samsung TV using an Ethernet cable.
Note: If there is an issue, such as the cable not being connected, you will be prompted to check the connection.
Understanding how to locate the MAC address of your Samsung TV can be crucial for network security and connectivity troubleshooting.
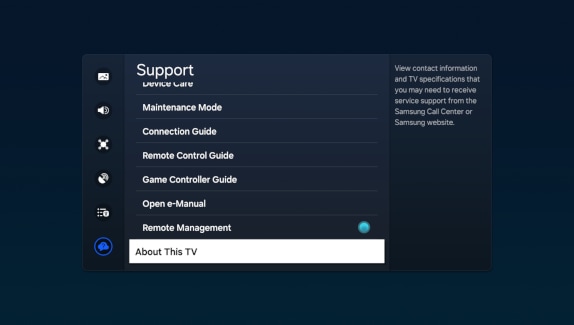
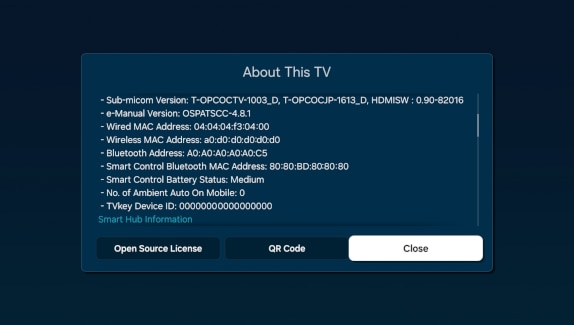
Note: The MAC address is crucial for network device identification and troubleshooting. It may be requested by our support team while diagnosing issues with your Samsung TV.
Understanding how to check the network status on your Samsung TVs from 2021 is essential for maintaining a stable internet connection.
- Disconnect: Disconnect your TV from the current network to stop all internet activity.
- IP Settings: Access and modify IP and DNS settings to troubleshoot connectivity issues or configure advanced network preferences.
- Retry: Attempt to reconnect to the network if the initial connection fails or if the connection has been lost.
- Close: Exit the Network Status menu and return to the previous screen.
Troubleshoot through network status
On the Network Status screen, you can view the connection status of your TV, router, and the internet. Blue dots indicate a successful connection, while a red 'X' signals a lack of connection.
Case 1: TV and router connectivity Issues
If the connection between your TV and router is problematic, you will see a red 'X' between the images of the TV and router on the screen. Check the following:
- Check connections: Ensure all cables connected to the router are secure.
- Restart the router: Unplug the router's power, wait about one minute, then reconnect. This can resolve many connectivity issues.
- Test with another device: Check if another device on the same network can connect to the internet. If it can, the issue likely lies with the TV; if not, the problem is with the router.
Case 2: Internet service issues
If your router is connected to the TV but not to the internet, you will see a red 'X' between the router and the globe icon representing the internet.
- Service provider issues: This typically indicates a problem with your internet service provider. Often, these are temporary outages. A bit of patience is usually all that's needed while your provider resolves the issue.
If you're facing ongoing network issues or need to update your network setup, resetting the network settings of your Samsung TV might be necessary. This action reverts the network settings back to their factory defaults, providing a clean slate for you to reconfigure your connectivity options.
Note: If you need detailed guidance on setting up your internet connection, refer to the previous sections above on connecting your Samsung TV to the internet using either a wired or wireless method.
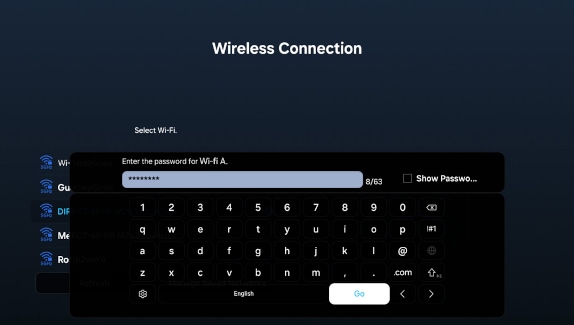
Connecting to Wi-Fi is the easiest and most seamless way to access the internet on your TV. Make sure you have your wireless network name and password before trying to connect.
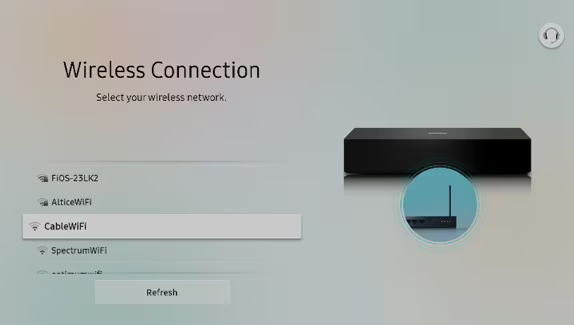
Note: Older Samsung TVs only support 2.4 GHz networks. They will not detect 5 GHz networks. If your Wi-Fi network does not appear on the list, ensure your router is configured to broadcast the 2.4 GHz band.
Wired connections offer the most stable and reliable internet experience, especially important for older model TVs that might not support the latest wireless standards.
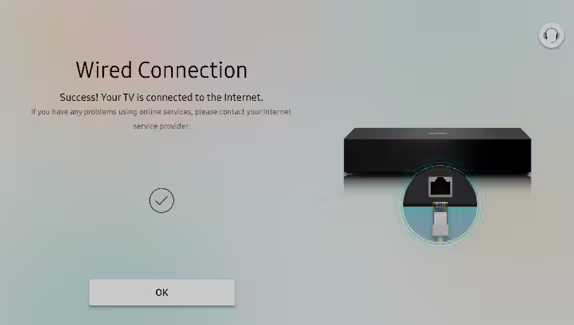
Note: If there is an issue, such as the cable not being connected, you will be prompted to check the connection.
Locating the MAC address on your Samsung TV is essential for managing network permissions and troubleshooting connectivity issues.
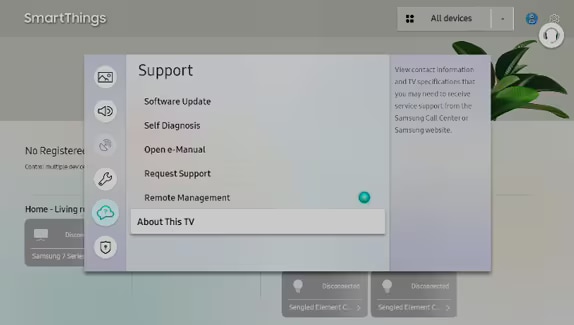
Note: On some TVs, you may need to select Contact Samsung instead of About This TV.
Note: The MAC address is crucial for network device identification and troubleshooting. It may be requested by our support team while diagnosing issues with your Samsung TV.

Is this content helpful?
Thank you for your feedback!
Please answer all questions.