How to use Android Message on my Galaxy device
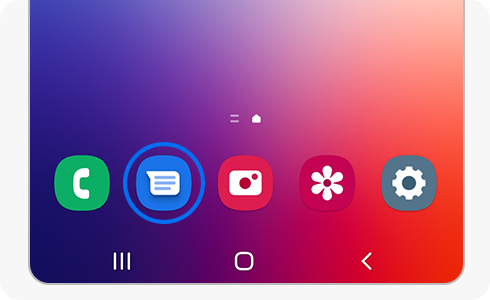
Android Message is an alternative messaging and message management system. You can use it to send SMS and MMS. Also, you can use it to chat through the RCS, send group messages, images, videos, and audios.

The Android TM messaging system is available on all devices with the Android operating system.
The requirements for Android Message are as follows:
- Android TM 5.0 Lollipop or more.
- A Wi-Fi connection or a data network.
Please note: Android Message is not available on all mobile tariffs and can sometimes add extra charges to your usual tariff. Also, Android Message may not be supported from some countries at this moment.
If you want to download Android Message, follow these steps.
If you want to update your Android Messages, follow these steps.
You can set up Android Message as your default option when you send a message or start a chat. Follow these steps.
If you want to send a message and start a conversation, follow these steps.
If you want to program a message, you will have to follow the above steps but instead of tapping Send do a long press on this button. When the pop-up panel appears, choose the option that you want to take. Then, tap on the send icon and your message will send on the date you have chosen.
You can manage your messages and separate them into categories, depending on the content or whether you want to have them starred or archived.
To see the different categories, tap on the more options icon in the top right of the screen. Here you can see the message categories “Starred”, “Archived” and “Spam & locked”.
The different options are as follows.
- Starred: Messages marked as starred appear in this category.
- Archived: Messages marked as archived appear in this category.
- Spam & locked: Messages marked as spam or locked appear in this category.
- Images: Messages that contain images appear in this category.
- Videos: Messages that contain videos appear in this category.
- Places: Messages that contain places appear in this category.
- Links: Messages that contain links appear in this category.
If you want to enable RCS to use it, follow these steps.
You can set up Android Message to change the theme, country, suggestions or all automatic previews. Read below to know how to customise your options:
Choose theme: you can choose the theme that you want to use in Android Message. Tap on the more options icon and select the “Choose theme” option. Here you can choose between “Light”, “Dark” or “System default”. When you select one, tap on the “Ok” button.
Pinch to zoom conversation text: Tap on the more options icon on the main screen of the app. Go to “Settings” and turn on the button to use this feature.
Hear outgoing message sounds: Tap on the more options icon in the main screen of the app. Go to “Settings” and turn on the button to use this feature.
Bubbles: Tap on the more options icon in the home screen of the app. Select the “Settings” option and go to “Bubbles”. Here you can choose between “All”, “Selected only” and “None”.
Select your country: You can personalise your country. Go to the more options icon, go to “Settings” and select “Your current country”. At this menu you can select the country which you prefer.
Automatic preview: One of the options to customise your Android Message app is to activate or deactivate the automatic previews. In this screen you can select “show all the previews”, “only the web link preview” or “only download data on Wi-Fi”. Simply activate the “on” or “off” button.
Android Message allows you to configure notifications in the way that is most useful and convenient for you.
If you want to set up the notifications, follow these steps.
One of Android Message’s most useful features is the spam protection, that helps the user detect harmful messages. You can use this feature by following the next steps.
Once you have enabled the Spam protection feature, you can check all the messages blocked by tapping the more options icon at the top right of the Android Message main screen and selecting “Spam & blocked”.
You can pair a device to sync your messages by following the next steps.
While using Android Message you may encounter some errors that do not allow you to use the app properly. If you want to get more information about this error or find a solution, launch Android Message, tap the more options icon at the top right and select “Help & feedback”.
There you can encounter “Popular help resources” that may solve your problem, or you can send your feedback by tapping the “Send feedback” option.
Is this content helpful?
Thank you for your feedback!
Please answer all questions.


