Set up your Samsung Smart TV using a remote control
Last Update date : Nov 05. 2024
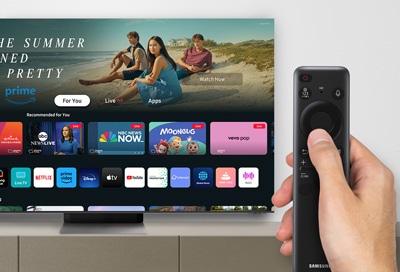
Hand holding a Samsung TV remote aimed at a Samsung Smart TV displaying streaming app options.

Your Samsung Smart TV can be set up using the included Samsung remote control. This method allows you to easily select everything on the screen during the setup process, such as your preferred network, settings, and voice assistant. You can use the instructions in our guide to set up your TV.

Note: The order of initial setup steps and UI may vary by model and region, and steps may be added or deleted. Please follow any on-screen prompts specific to your device.

The following steps will help you set up your Samsung TV using the TV’s remote control.
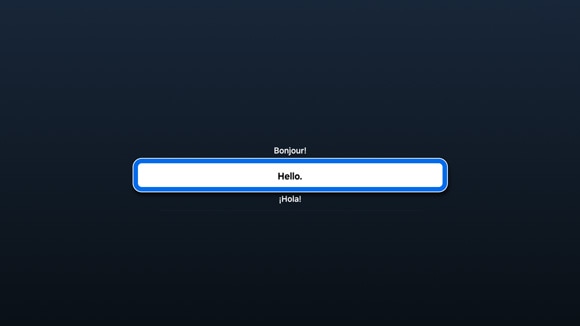
1 Turn on your TV, and then select your desired language.
Language selection screen on a Samsung TV displaying options: 'Bonjour', 'Hello', and '¡Hola!'.
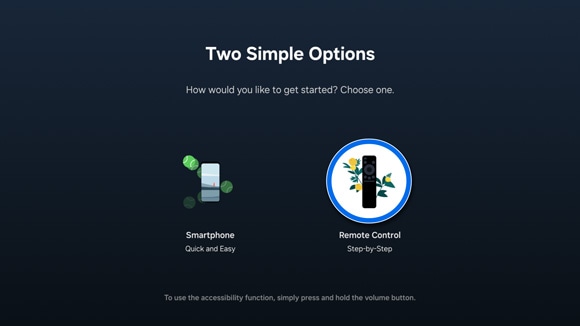
2 Select Remote Control as your preferred set up method.
Setup options screen on a Samsung TV displaying two choices: Smartphone for quick setup and Remote Control for step-by-step setup.
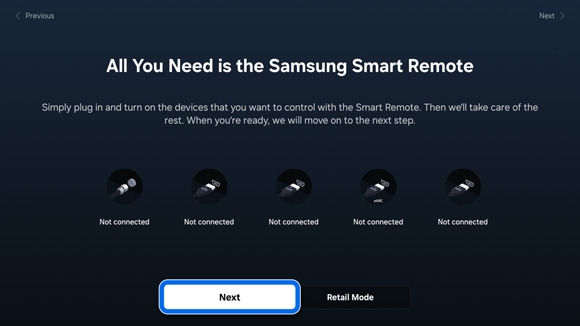
3 Your TV will remind you to plug in your external devices and turn them on. Connect your external devices, and then select Next.
Samsung Smart TV setup screen showing multiple device connections as 'Not connected' and a highlighted 'Next' button for proceeding.
4 Select how you’d like to connect your TV to the internet. You can choose a Wireless connection or Wired connection.
  • Wireless: Select your network name from the list of networks detected by your TV, then enter your Wi-Fi password, and then select Go.
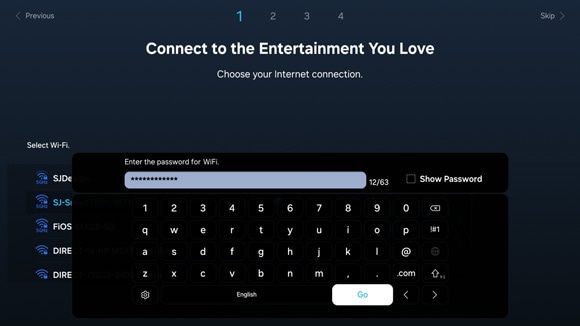
Wi-Fi setup screen on a Samsung Smart TV with options to select a network and enter a password.
  • Wired: Your TV will automatically detect and connect to the internet if an Ethernet cable is connected. If you haven’t done so, please connect an Ethernet cable to your TV.
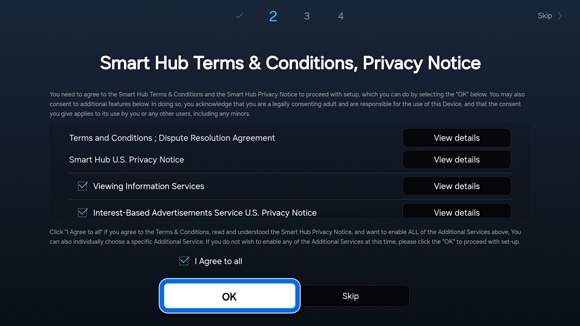
5 Next, review the Smart Hub Terms and Conditions and Privacy Notice. Select I Agree to all and then select OK to continue.
Smart Hub Terms & Conditions screen on a Samsung Smart TV with options to view details and an 'I Agree to all' button to proceed.
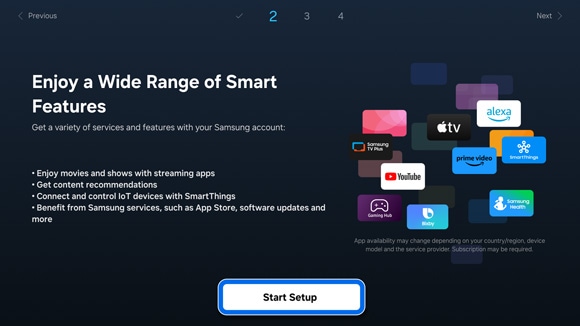
6 Review the smart features included with your Samsung Account, and then select Start Setup.
Screen highlighting Smart Features available with a Samsung account on a Samsung Smart TV, with a 'Start Setup' button.
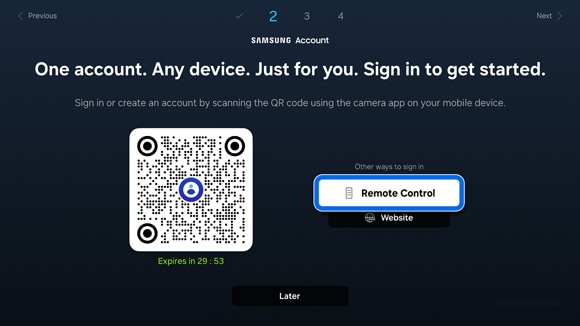
7 You will be prompted to sign into your Samsung Account. Select Remote Control.
Samsung Account sign-in screen displaying a QR code for mobile scanning and options to sign in with a Remote Control or Website.

Note: You can also select Website or scan the provided QR code using your phone.
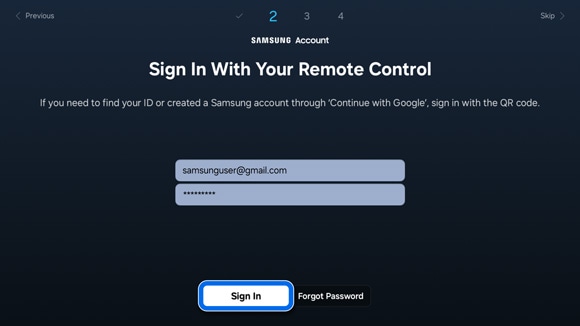
8 Enter your Samsung Account credentials, and then select Sign In.
Sign-in screen for Samsung Account using a remote control, showing fields for email and password with a 'Sign In' button.
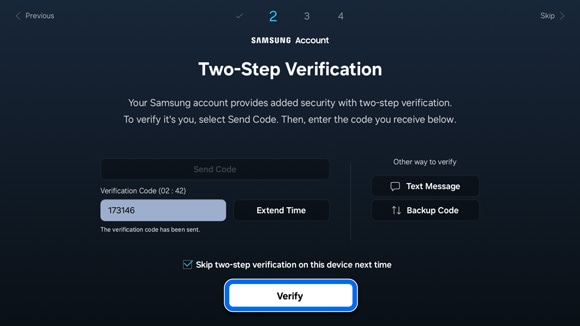
9 You will need to verify your account using two-step verification. Select Send Code, and then enter the code you received on your phone or through your email. Select Verify.
Two-step verification screen on a Samsung TV, showing options to send and enter a verification code, with a 'Verify' button.

Note: You can also select Text Message or Backup Code under Other ways to verify.
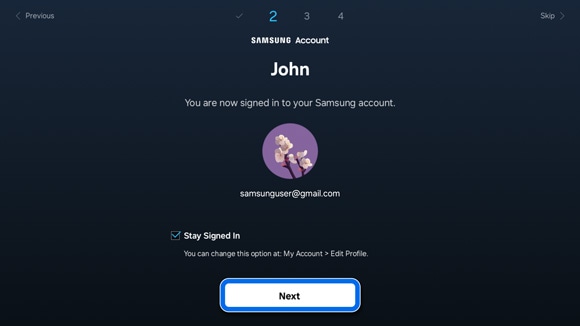
10 You’ll be signed into your Samsung Account. Select Stay Signed In if desired, and then select Next.
Confirmation screen displaying the successful sign-in to a Samsung account, along with options to 'Stay Signed In' and a 'Next' button.
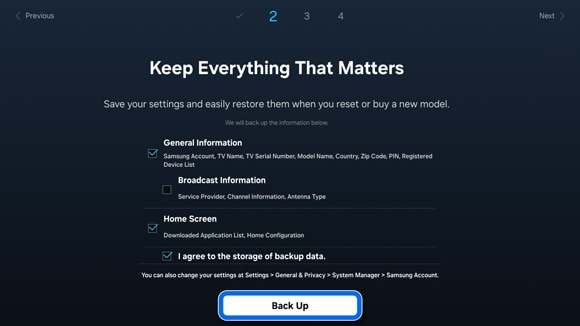
11 You can save and backup your settings; select your preferred settings, and then select Back Up.
Backup options screen on a Samsung Smart TV, allowing users to save general, broadcast, and home screen settings with a 'Back Up' button.
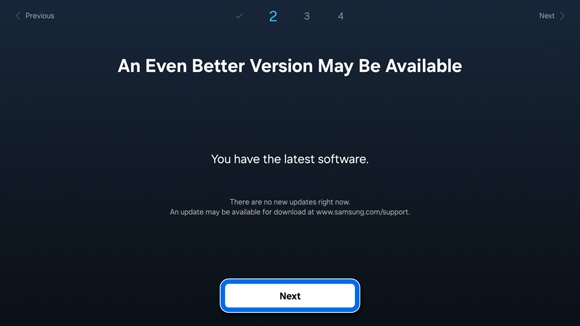
12 If a software update is available, update to the latest version. If you are already using the latest software version, select Next to proceed.
Screen indicating that the latest software is installed on the Samsung Smart TV with a message suggesting an even better version may be available, and a 'Next' button.
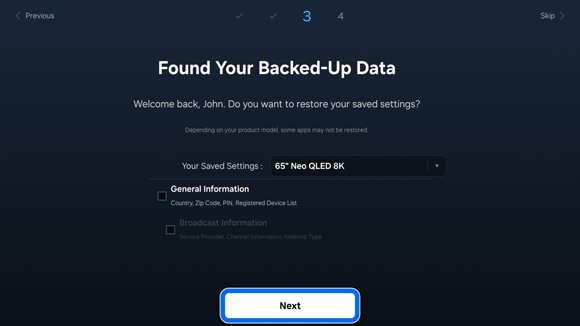
13 Next, you can restore your backed up data from your previous products if desired. Select your preferred data, and then select Next.
Screen showing options to restore backed-up data on a Samsung Smart TV, with saved settings, along with a 'Next' button.
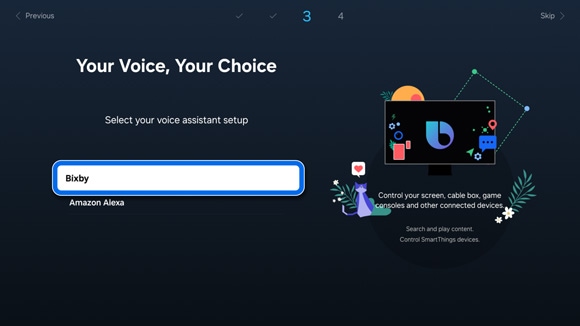
14 Select your desired voice assistant; you can choose Bixby or Amazon Alexa.
Screen on a Samsung Smart TV offering voice assistant setup choices: Bixby or Amazon Alexa, with icons illustrating device control and content search capabilities.

Note: The function and voice recognition assistant may not be supported depending on the model or geographical area.
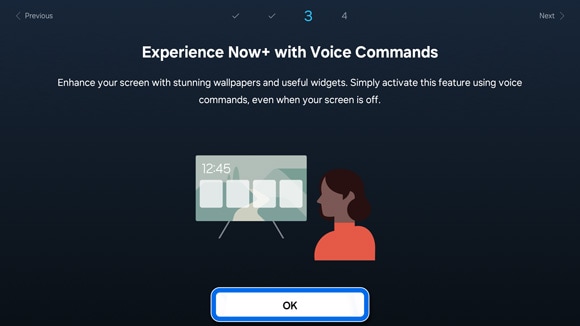
15 Review the voice commands information, and then select OK.
Screen showing the 'Experience Now+' feature on a Samsung Smart TV, with an 'OK' button to proceed.

Note: This step may vary depending on your TV model and country of residence.
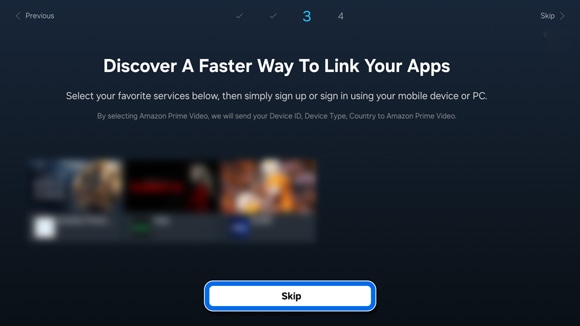
16 Link your favorite apps if desired; select from the displayed apps and services, and then follow the prompts to log in or sign up. Select Skip if desired.
Screen on a Samsung Smart TV displaying options to link streaming apps, with a 'Skip' button available for bypassing the step.
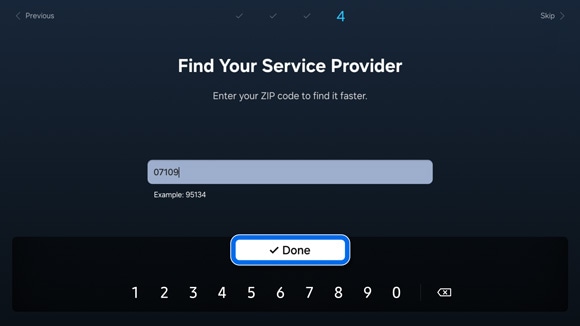
17 Next, enter your ZIP code to find your service provider. When you're finished, select Done.
Screen prompt to enter a ZIP code to find a service provider on a Samsung Smart TV, with a virtual keyboard displayed and a 'Done' button.
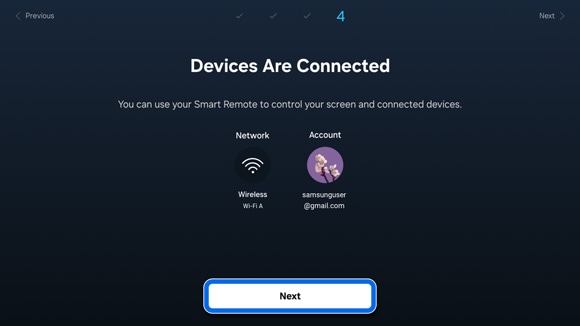
18 Your devices will be connected, and you’ll see your network and account names. Select Next.
Confirmation screen showing that devices are connected, displaying the network status as 'Wireless Wi-Fi' and the connected Samsung Account , with a 'Next' button.
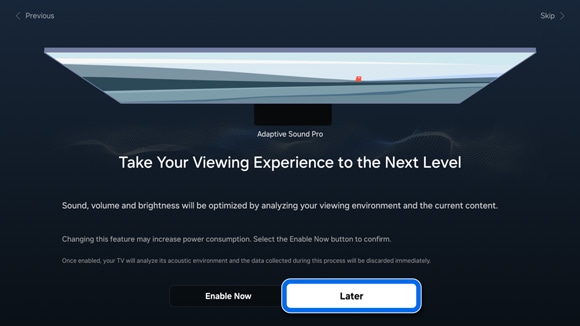
19 Review the information about Adaptive Volume, and then select Enable Now if you’d like to turn it on. Otherwise, select Later.
Screen displaying the Adaptive Sound Pro feature on a Samsung Smart TV, offering to optimize sound, volume, and brightness with options to 'Enable Now' or select 'Later'.
20 Your TV’s setup process will be complete.
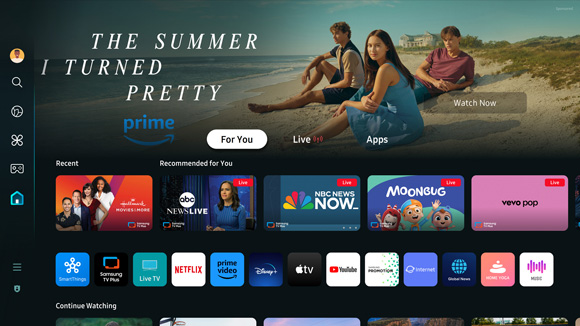
Home screen of a Samsung Smart TV displaying the interface with various streaming app icons and a feature banner.

Notes:

  • If you are having trouble with your Samsung Smart TV, you can check for available software updates, as these may contain a solution to your problem.
  • Device screenshots and menus may vary depending on the device model and software version.

Thank you for your feedback!

RC01_Static Content