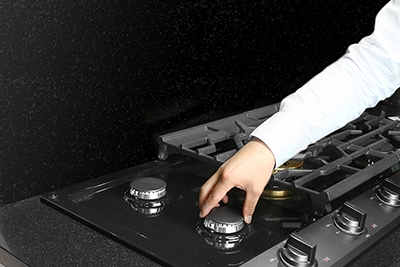
How to clean your Samsung gas cooktop
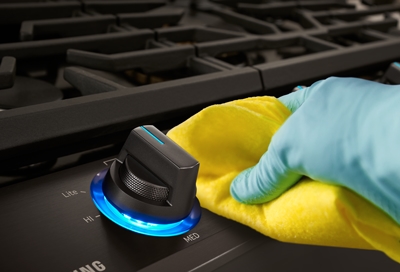
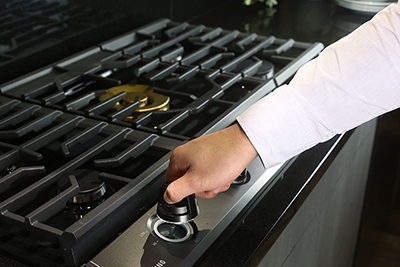
Person cleaning the knobs of Samsung gas cooktop

A gas cooktop is often one of the most used appliances in the kitchen, so it will need attention to keep it clean and looking new. Although it may seem imposing and made up of many parts, with a little practice, routine care and maintenance will be a cinch. And the more often you do it, the less it will need each time. After all, a sparkling clean cooking area makes a world of difference. Your cooktop, food, and family will thank you.

Things to know before you start cleaning

Read the following warnings before cleaning your cooktop:

  • Make sure the electrical power for the cooktop is off and all surfaces have cooled down before cleaning any part of it.

  • Do not use any of the following, which can damage your cooktop: steel wool pads, abrasive cleaners, caustic lye (sodium hydroxide), chlorine, or any cleaners which contain these chemicals.

  • Do not uninstall the cooktop to clean its surface. The gas lines leading to the burner manifolds can be damaged, resulting in a fire or system failure.

  • Do not spray any type of cleaner into the manifold holes. The ignition system is located in those holes and must be kept free of moisture.

  • Do not clean any of the oven or cooktop's components in the dishwasher.

  • Do not clean any pieces of the cooktop (like the cast iron grates or griddle) in a self-cleaning oven.

Note: If you're looking for how to clean a hood vent, see our guide.

Cast-iron griddle, grates, and wok grate

Note: Do not put these in a dishwasher. Review the previous section before cleaning.

Griddle (certain models only)

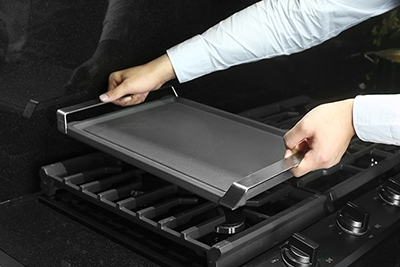
The first thing you'll want to clean, if your model came with one, is the cast iron griddle. The best time to clean it is right after cooking, as soon as it's cooled down enough.

Use a stiff brush and hot water to scrub it. Using soap is not recommended, and never use harsh detergents. Make sure to thoroughly dry the griddle before you use it again. When the griddle is not in use, store it in a cool, dry place.

Person holding the cast-iron griddle above the gas cooktop

Grates

Note: Some models come with complimentary wok grates. These can be cleaned in the same way as the other grates.

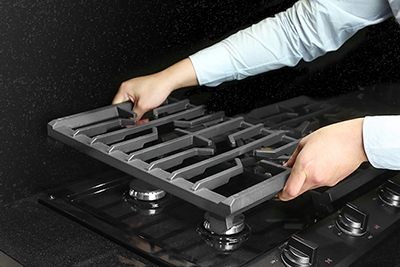
Wash grates in warm soapy water, and then rinse with clean water. If there is a lot of buildup or grease, soak them in hot water, a mild degreaser, or white vinegar for 15 to 30 minutes. When you are done cleaning, make sure the grates are completely dry before you place them back on the cooktop.

Person holding a grate that is slightly removed

Burners and cooktop surface

Note: The brass parts of your burner will change color with use. This is normal and it will not affect its performance. You can clean the brass parts with brass cleaner.

Remove and wash the heads and caps

Before removing the burner caps and heads, remember their size and location, since they're not interchangeable and your cooktop will not perform correctly if they're not put back together correctly. If you lose track, you can always refer to your user manual.

Wash the burner caps and heads in hot soapy water, and then rinse them in running water.

Hand holding a burner cap above a burner

To remove burned-on food particles, use a plastic scouring pad. To unclog the small holes in the burner head, use a sewing needle or twist tie. After cleaning the burner caps and heads, confirm that the burner port openings aren't plugged.

Burner base

Caution: Do not let water get into the burner base and the brass gas orifices.

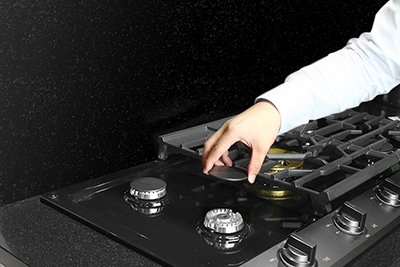
Next, wipe the burner bases with a damp cloth. Be careful not to scratch, deform, or damage the bases. Make sure to fully dry the burner bases before using them.

A hand with a cloth wiping around the base of burners with the heads and caps removed

Cooktop surface

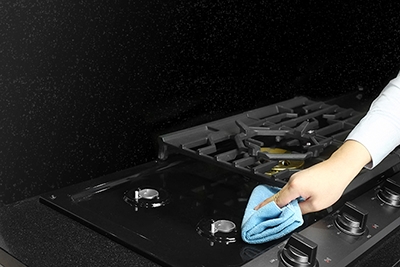
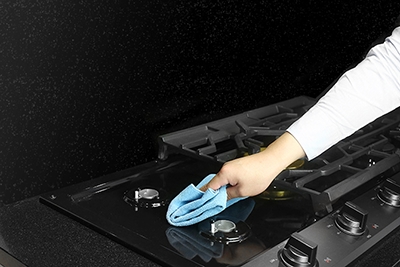
Now that all the pieces are removed, we'll clean the cooktop surface directly using a soft, damp cloth. Enamel cleaners work well on most cooktops.

A hand wiping the cooktop surface with a cloth while the grate is removed

Knobs and controls

Remove and clean the knobs

Caution: Do not remove the spill protector when removing the knobs.

First, make sure all surface burner knobs are in the OFF position. Then, pull the knobs off the control valve stems. Clean the knobs in warm, soapy water. Then, rinse and dry them thoroughly. Clean the stainless steel surfaces using a stainless steel cleaner or white vinegar. While the knobs are off, it's a good time to clean the rest of the area (see the following sections).

Hand holding a control knob that is slightly removed

When you're ready to put the knobs back on, make sure they are completely dry, and then reattach them to the control valve stems in the same OFF position.

Stainless steel surfaces

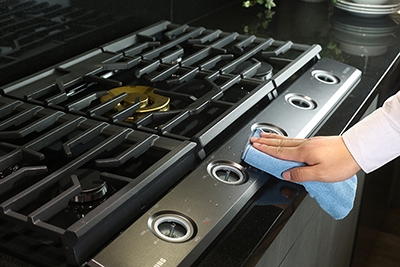
Remove any spills, spots, and grease stains using a soft, wet cloth. Apply a stainless steel cleaner like Bar Keepers Friend, or some white vinegar to a cloth or paper towel. Clean one small area at a time, rubbing with the grain of the stainless steel if applicable. Dry the surface using a soft, dry cloth. Repeat these steps as many times as necessary.

Hand and cloth gently brushing the stainless steel surface with the knobs removed

Control panel (for ranges)

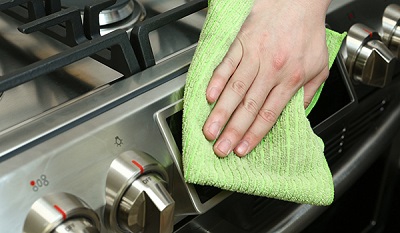
Make sure to lock the panel first. On most models, touch and hold START/SET for 3 seconds to lock it. Then, clean the panel using a soft cloth dampened with plain water, warm soapy water, or glass cleaner. Do not spray cleansers directly onto the control panel because the moisture can damage the display. When you're done, don't forget to unlock it.

Hand wiping the control panel with a cloth

Reassembly

Make sure all pieces and the cooktop surface are dry before reassembly. Also, each piece is made to go in a specific place and are not interchangeable, so make sure you know which piece goes where. You can find instructions and illustrations specific to your model in your user manual.

Orient each burner head so that the opening for the electrode lines up with the electrode. Then, install the burner head so that the electrode passes through the opening for the electrode. Make sure the burner head lies flat on the stove top. Then place the correct burner cap on top. You should be able to spin the cap, but not slide or wiggle it.

Hand placing the cap back on top of the burner head

Next, put the grates back on. These are also not interchangeable so make sure they are on the correct side and facing the correct direction.

Ordering more parts

If the parts of your range or cooktop are beyond hope of cleaning, or they are damaged or missing, visit samsungparts.com to order more.

samsung logo action minus
Contact us
We're here for you.
Was this content helpful?
We're here for you

Contact Samsung Support

Contact us online through chat and get support from an expert on your computer, mobile device or tablet. Support is also available on your mobile device through the Samsung Members App.
Table of contents