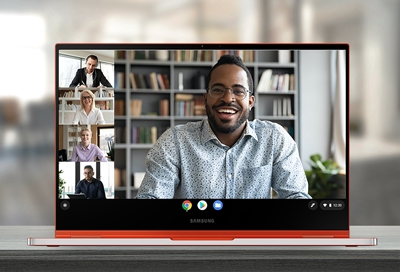
Connect to the internet on your Samsung Chromebook
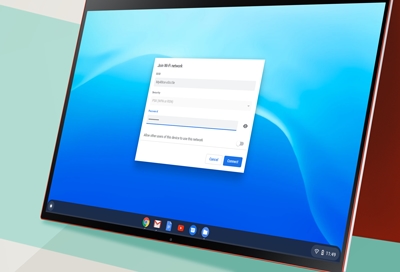
Connect to Wi-Fi You can quickly connect to a Wi-Fi network using your Chromebook's Status tray. Once you're connected, you can use Bluetooth devices with your Chromebook as well. To begin connecting to a wireless network, select the Status tray. Select Not connected / No network. Scroll through the list, and then select your wireless network. If y